Last week I wrote about using color film when I wanted to end up with a black and white image. By using the colors in the film I was able to mimic the effects of color filters that are so important in black and white photography. This week I want to build on that idea except this time I’m correcting a mistake.
You see I mixed my color chemicals wrong and deluded my blix/fixer. I followed the regular development directions only to discover the correct color of my negatives never materialized. The roll of Kodak Porta 160 had expired a couple of years ago but it was stored in the refrigerator so I wasn’t worried about color shift. Porta is known and revered for its natural colors making it a good choice for landscape photography or portraits. After going through the development process I noticed the colors were way off. The entire roll had an amber color cast and lacked the punch of red, green, and blue.
Disgusted with myself for making a rookie mistake, I sent the second roll out to a lab which developed the film correctly. (After some research I decided to double the blix/fixer time which solved my problem.) I set the first, damaged roll aside for some possible future use. What I really wanted to do was toss it in the trash but I checked self-disgust and set it aside. It’s been a couple of months and with a fresh attitude, I put the film on the scanner and clicked “greyscale.” It was time to salvage the images by going to black and white.
I develop, scan, and print at home giving me tremendous control over the entire process. Most film shooters developing options are a local or mail in lab. Uponn receiving your film the lab will automatically put color print film into the C41 automated machine. The machine will reveal whatever is on the film and if everything works out the way the photographer planned, beautiful color prints can be had from the developing/printing machine. But the same machine can do exactly what I did at home, print a black and white image from a color negative. If you are an Adobe product user, Photoshop and Lightroom have controls to change the image to black and white. If the lab sent a digital copy you can go to photoshop. Maybe you have some negatives in your drawer that don’t work in color. Did you try a black and white print? All you have to do is send it back and ask for the print in monocrome. Who knows what treasure you missed?
Sometimes you just need a little experimentation. Remember when you discovered that cropping a photo can reveal a good picture you thought you missed? Same thing here. Maybe a color photo missed the mark because the color emphasized the wrong thing. Maybe it detracted from a repeating pattern, or a strong subject that was muted in color but can stand out in the contrast of black and white.
One of the things that keeps my in photography is the realization that I will never know it all. There are always different ways to view an old subject, new ways to manipulate the equipment that will result in a different vision, and an opportunity to revisit something in the file box that I can re-view because my life experience changed.
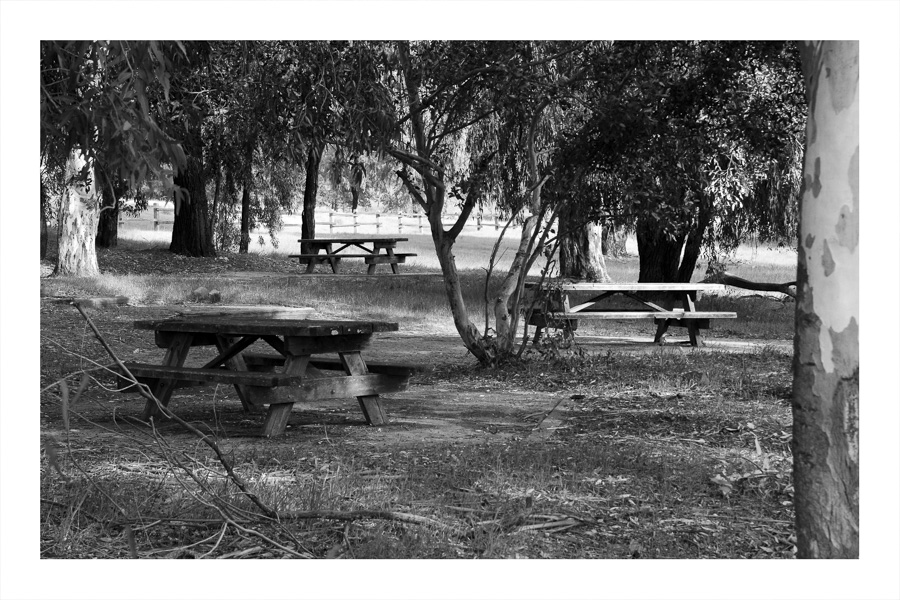
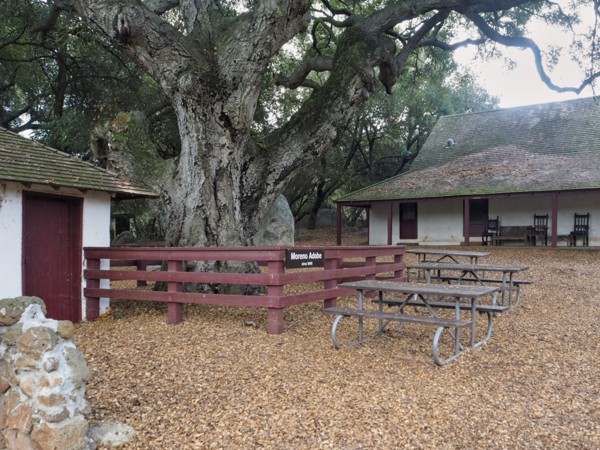
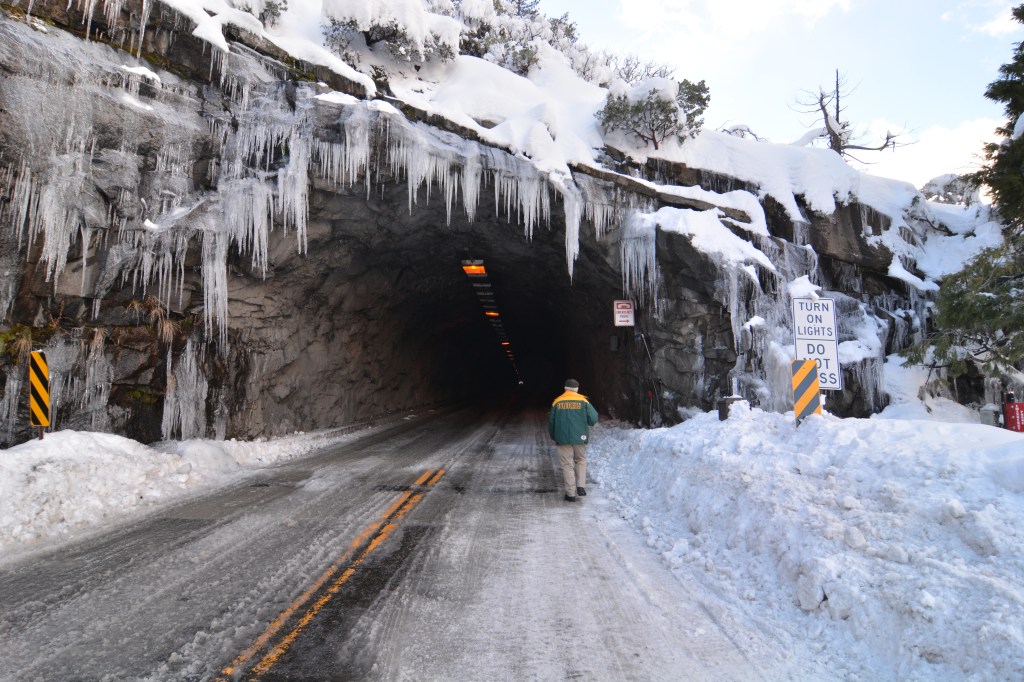
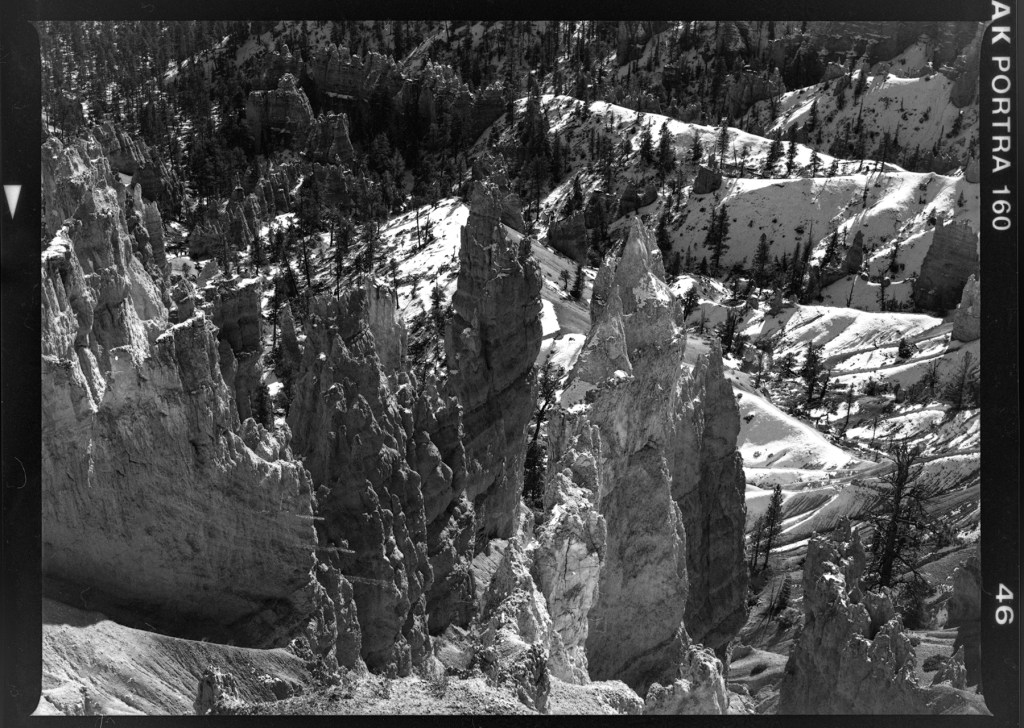
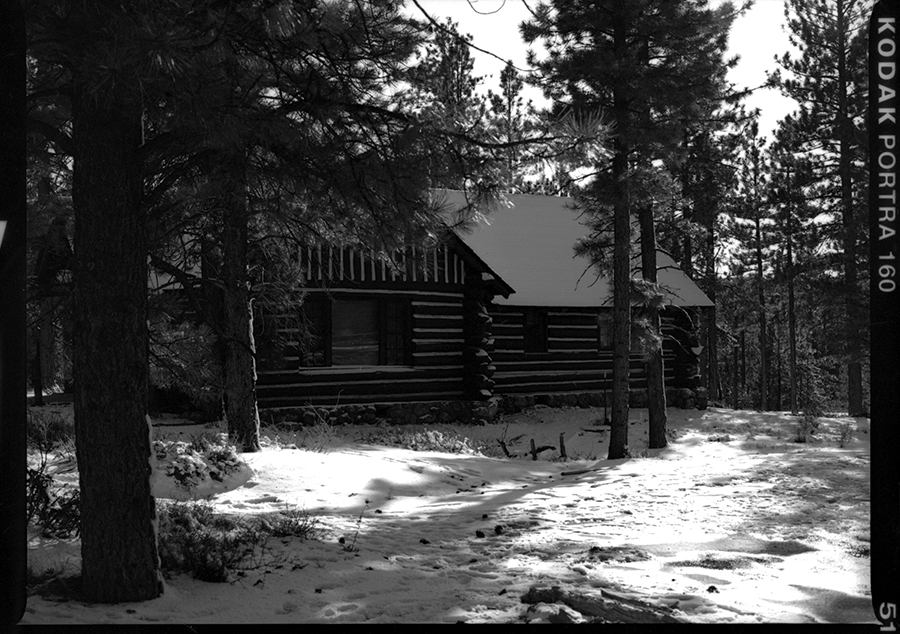
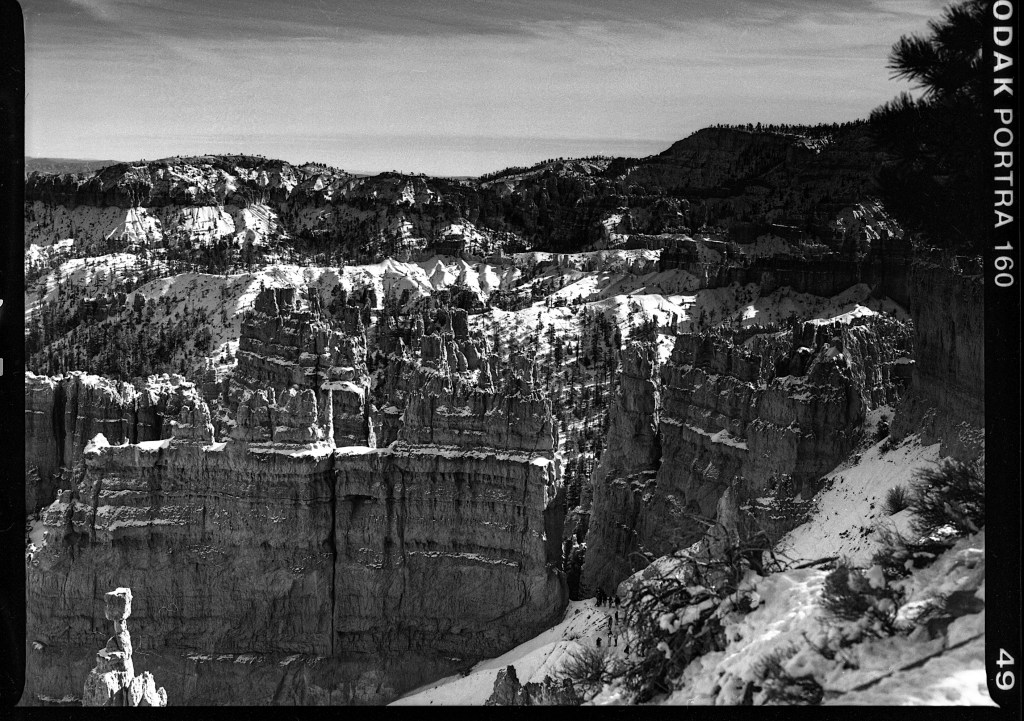
Here’s a couple of color photos that I think worked out well in black and white and a couple that didn’t transfer. What do you think? Let me know in the comments.
Photo information:
All pictures shot with a Mamiya 645e and expired Kodak Porta 160. The film was developed in C41 chemicals with double the recommended time for blix/fixer due to over dilusion. Scanned using an Epson V700 directly on the glass at original size, 1200 dpi, 16 bit greyscale. (If all of this is confusing because you send your film in, keep sending it to the lab.)
Bryce Canyon National Park, November, 2025.