If you’re not doing some king of post processing on your photos, you’re taking snapshots. Hear me out for a moment, I’m not judging the value of one over the other. Kodak made millions by opening up photography to everyman and the old reference to a “Kodak moment” is a heart warming term. But if you want to make something more you’re gonna have to make some adjustment after the pushing the shutter button.

My first digital camera was an Olympus d-490 “Camedia”. It has a whopping 2.1 megapixels. It changed my life. When I was younger with a Pentax 1000 35mm camera I didn’t take notes so when the prints came back I was frequently displeased with the results. Not only was the time gap too large, it was hard to take 36 images in one setting, I didn’t understand that the print was only one interpretation of the negative. The digital Olympus came with software that allowed me to do simple things like crop the image. I remember the first time I did a simple crop and discovered the photo I wanted hiding within the larger image. It was transformational!
Post processing your images will be transformation for you too. From the options to crop, sometimes called a digital zoom, to enhancing colors or muting others, the work you do after the image is captured on your sensor will put you an the journey to printing the image you wanted when you pressed the shutter.
Here are a few examples of where post-processing changed the image and allowed me to more clearly communicate my vision.
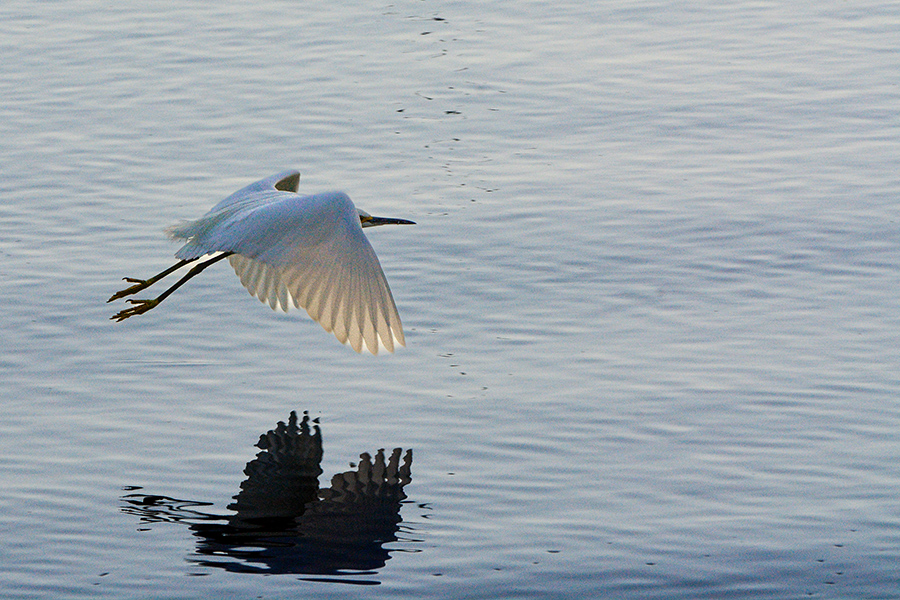
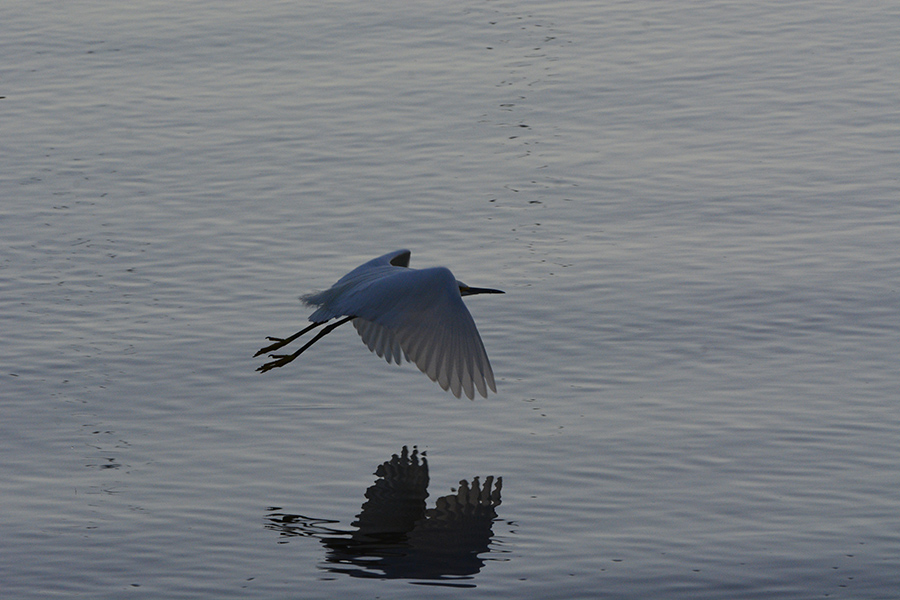
This image of a Great Egret flying over the waters of Lake Elsinore was captured during the golden hour. I was actively seeking opportunities to highlight a large bird and use the setting sun as a tonal element of the photo. This egret “volunteered” to be my subject. When I first saw the image, however, knew I had some more work to do. Using a couple of sliders and maksing in Adobe Lightroom, I pulled out the orange reflection off the water to the underside of the wing. While I saw this in realtime, the sensor didn’t give it to me when it did it’s thing.

Here’s another example. This king fisher didn’t like me in his space. I noticed as I set up for the shot that his behavior was similar to a Great Blue Heron. If he thought I was too close he took to the wing but simply flew in a circle returning to his previous perch. He would repeat, as a protest, if he thought I had encroached on his space again. So I set up and waited, knowing that he would return and that I didn’t have to scurry to get the shot the first time. Sure enough, he circled back around and I got his portrait. The bands that make him identifiable only came out in post. The excessive contrast between the darker reeds and bushes and the bright blue sky required a little extra help. I did a little crop, and worked the contrast, exposure, and saturation to get a photo I was pleased with. I didn’t want to crop too much because I wanted to keep him in his environment and avoid any digital noise from cutting too small a piece of the image.
I prefer Adobe products for post-processing because the sheer number of tutorials on YouTube make it easy to learn the parts of Photoshop or Lightroom I want to understand. While I object to the high cost and the new restriction to only subscribe (read rent) the program, I know I’ll never outgrow Photoshop or Lightroom and tutorials will always be available when I see the need to extend my knowledge. However, you don’t have to spend that much money to learn how to edit your photos.


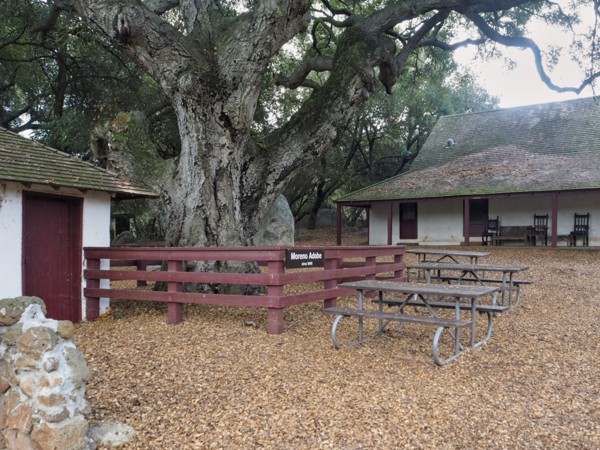
Your camera comes with photo editing software so you don’t neet to spend any extra money. I recommend you begin your journey with a few simple changes. First, try cropping your image a couple of different ways. Crop in to see if a zoom lens would help. Crop to the right or left leaving space between your subject and the edge of the frame using the Rule of Thirds as a guide. Crop with your subject low in the frame or high, purposefully making a leading line or vanishing point.

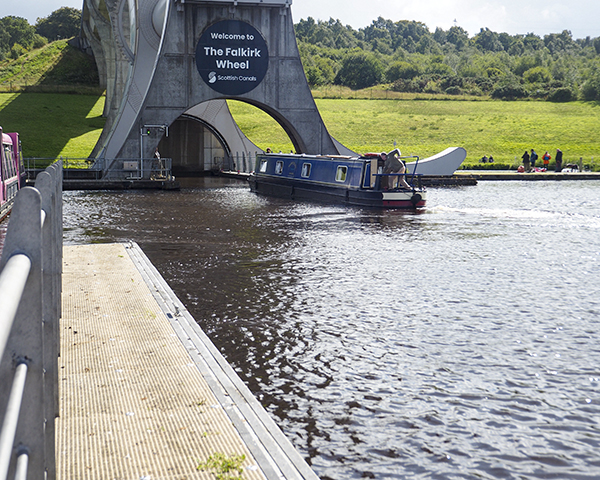
Second, find the tool that lets you change the exposure to make the color in your photo deeper or brighter. Color is a powerful element and its vibrance can direct your viewer to what you think is important. Sometimes changing the exposure of the image will do the same thing, making some element stand out and others fade into the background.


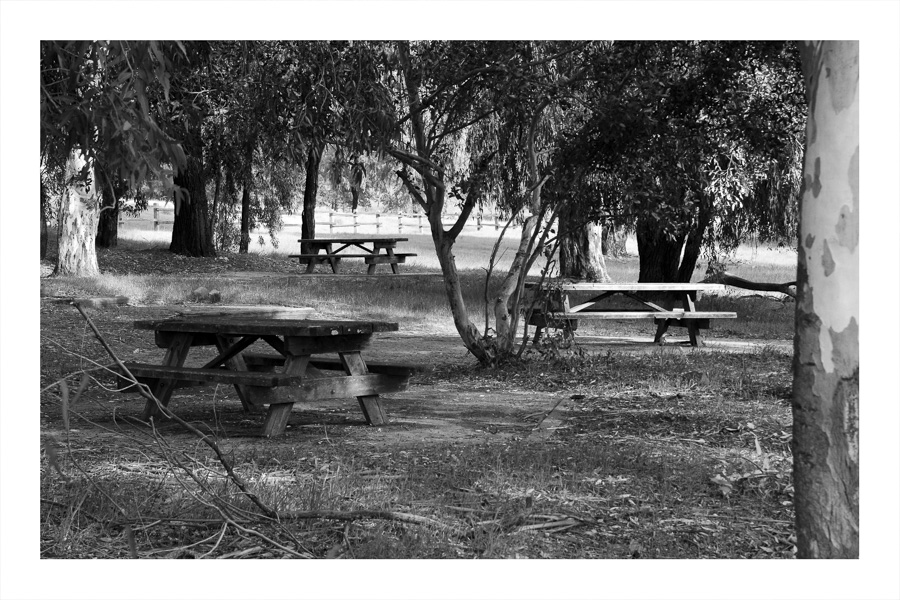
Third, find the option to change the image to monocrome. You may find your image wasn’t too compelling in color but limited to grey tones it suddenly has meaning. Maybe your software will provide the option to mimic a red, green, or blue filter to emphasize specific elements of the picture.
If you like taking snapshots continue to point and shoot. It’s worked well for millions over a century. But if you’d like to make a statement, display photos in public or hang them on your walls, or use photography as a means of expression, try a little post processing. After a little frustration, you’ll like what you discover about yourself and your craft.